How to Build a DIY Power Rack for a Home Gym
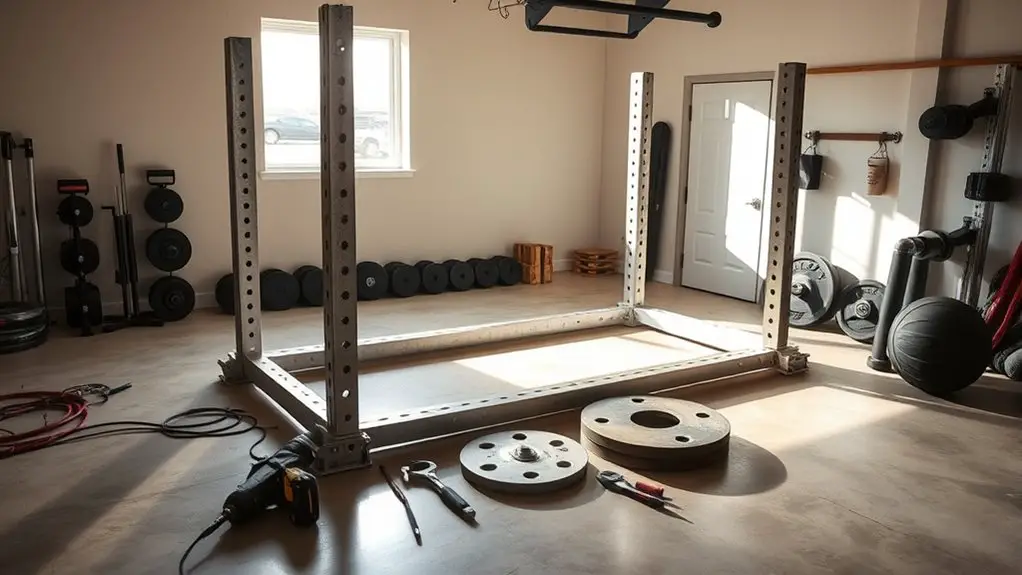
To build a DIY power rack for your home gym, start by selecting high-quality steel with at least 2mm thickness and a tensile strength of 40,000 PSI. Gather essential tools like wrenches, a drill, and a saw. Design your layout for adequate space and accessibility. Assemble with cut steel tubing, securing all bolts and connections for stability. Don’t forget to install rubber feet for grip and to protect your floor. Continue for detailed assembly instructions and safety tips.
Choosing the Right Materials for Your Power Rack
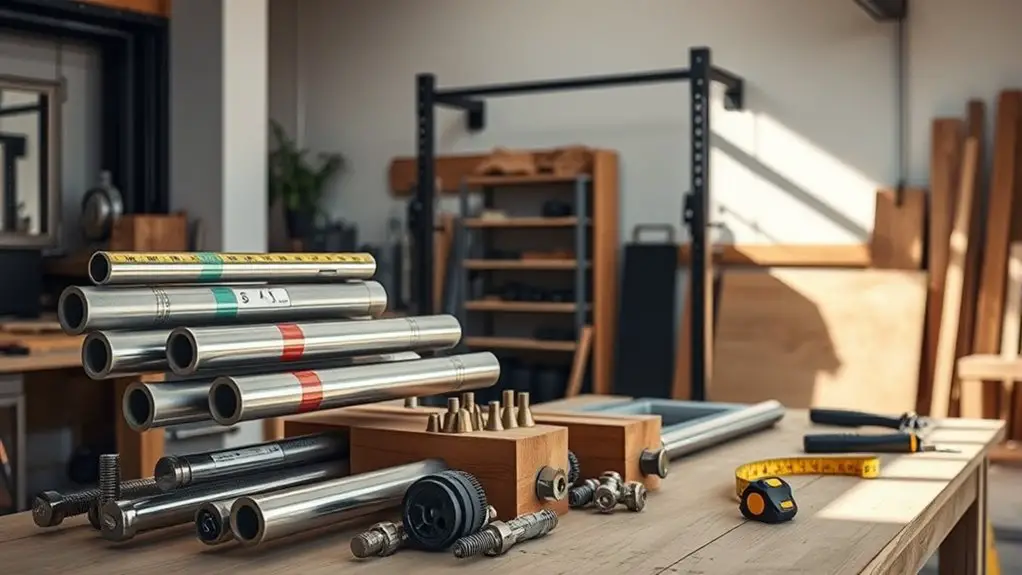
When building your own power rack, selecting the right materials is essential for guaranteeing safety and durability. Start with high-quality steel for the frame; a minimum thickness of 2mm is recommended to support heavy weights. This guarantees material durability, giving you confidence during your workouts. Look for steel with a tensile strength of at least 40,000 PSI to enhance load-bearing capabilities.
When choosing the crossmembers and uprights, consider a square or rectangular tube shape, as these designs provide superior stability. Use a powder-coated finish to prevent rust and scratches, maintaining both aesthetics and longevity.
Don’t forget about the weight capacity of your power rack. Calculate the maximum load you’ll be lifting, and always choose materials that exceed this capacity by at least 20%. This extra margin will safeguard against potential failure, allowing you to focus on your training without worry.
Essential Tools You’ll Need
To build your power rack effectively, you’ll need a solid set of tools. This includes essential hand tools like wrenches and saws, as well as power tools such as drills and grinders to speed up the process. Don’t forget safety equipment like goggles and gloves to protect yourself while you work.
Required Hand Tools
Building a DIY power rack requires specific hand tools that are essential for guaranteeing precision and safety throughout the assembly process. You’ll need a variety of hand tool types, including a tape measure for accurate measurements, a level to make sure your rack is straight, and a hammer for driving in fasteners. A socket set is vital for tightening bolts securely, while pliers can assist with gripping and twisting tasks. Don’t forget a screwdriver for any screws involved in assembly. Proper tool maintenance is important, too; keep your tools clean and rust-free to promote longevity. Regularly check for wear and tear to maintain their effectiveness and safety during use.
Power Tools Overview
A solid set of power tools can greatly enhance your efficiency and precision while constructing a DIY power rack. Start with a drill, as it’s essential for driving screws and making pilot holes. A circular saw will allow you to cut wood accurately, while a jigsaw is perfect for intricate cuts. For added stability, consider using a miter saw for precise angle cuts. Additionally, a sander will smooth rough edges, ensuring a professional finish. Remember that proper power tool maintenance is key; keep blades sharp and clean, check batteries, and lubricate moving parts. Regular maintenance extends the life of your tools and optimizes performance. Investing in these power tool types will streamline your build process greatly.
Safety Equipment Essentials
Safety gear is essential when constructing your DIY power rack, as it protects you from potential hazards associated with power tools and heavy materials. Prioritizing injury prevention is vital for a successful build. Here are four key items you’ll need:
- Safety goggles: Protect your eyes from debris and dust.
- Hearing protection: Use earmuffs or earplugs to shield your hearing from loud tools.
- Work gloves: Opt for durable gloves to enhance grip and protect your hands from cuts and scrapes.
- Dust mask: Prevent inhalation of harmful particles when cutting or sanding materials.
Designing Your Power Rack Layout
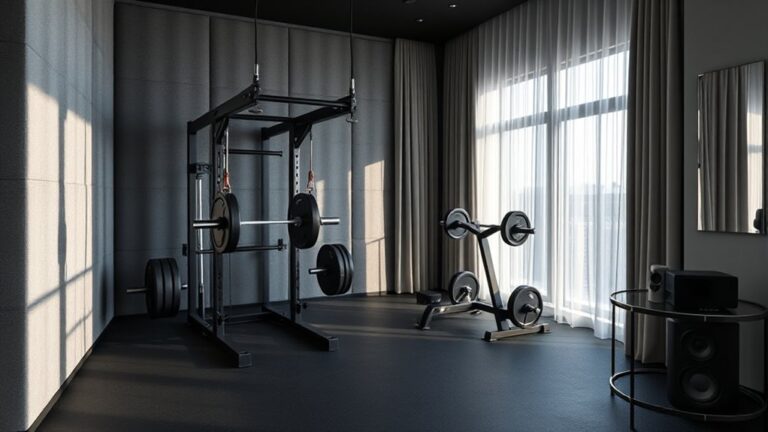
When designing your power rack layout, it is crucial to take into account both space and functionality to maximize your home gym’s efficiency. Start by measuring your available area, ensuring you allow for adequate clearance around the rack. This includes enough height for overhead lifts and side space for lateral movements.
Consider layout optimization by placing the rack near other equipment you frequently use, reducing the need for unnecessary movement. If you plan to perform various exercises, think about positioning the rack in a way that facilitates easy access to weights and attachments.
Space considerations also involve ensuring that your flooring can support the weight of the rack and any equipment. Additionally, plan for storage solutions like shelves or hooks for your accessories, keeping the area organized and safe. Ultimately, a well-thought-out layout enhances your workout experience and encourages consistent training.
Step-by-Step Assembly Instructions
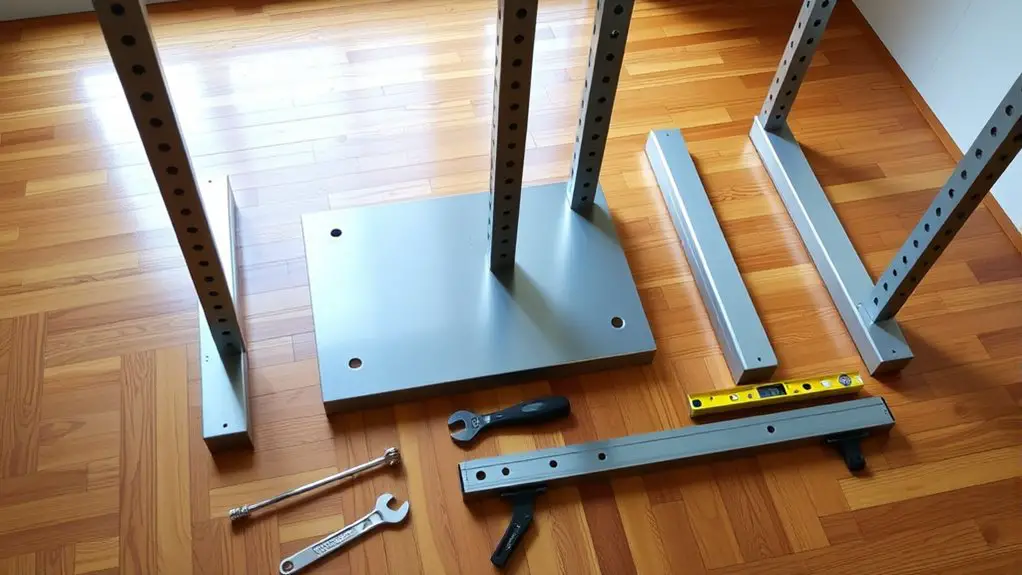
To assemble your DIY power rack, you’ll need specific materials and tools to guarantee a stable structure. Start by gathering the required components, such as steel tubing, bolts, and safety pins, along with tools like a wrench and drill. Once you have everything ready, follow the assembly process step-by-step for an efficient build.
Required Materials and Tools
Before you plunge into building your DIY power rack, it’s vital to gather the right materials and tools to guarantee a smooth assembly process. Proper material types and tool selection are important for durability and functionality. Here’s what you’ll need:
- Steel Tubing: Opt for 2×2-inch square tubing for a sturdy frame.
- Bolts and Nuts: Use high-grade bolts to guarantee stability.
- Rubber Feet: These will protect your floor and enhance grip.
- Safety Pins: Important for securing adjustable components.
Make certain you have the following tools on hand: a drill, a saw, a level, and a wrench. Gathering these materials and tools beforehand will streamline your build and help you avoid unnecessary delays.
Assembly Process Overview
As you commence on assembling your DIY power rack, it’s essential to follow a systematic approach to guarantee stability and safety. Begin by laying out all components and reviewing the provided diagrams. Use sturdy bolts and nuts for secure connections—this enhances structural stability. First, assemble the base by attaching the horizontal supports to the vertical posts using appropriate assembly techniques. Confirm everything is square by measuring diagonally. Next, secure the cross supports for added rigidity. Once the frame is complete, install the safety bars at the desired height. Double-check each connection and tighten all fasteners thoroughly. Finally, test the rack’s stability by applying weight gradually before regular use, confirming it meets your safety standards.
Safety Considerations and Tips
While constructing a DIY power rack can be an exciting project, it’s crucial to prioritize safety to prevent accidents and injuries during use. Here are some critical safety precautions to keep in mind:
- Sturdy Materials: Use high-quality steel or heavy-duty wood to guarantee your rack can handle the weight distribution safely.
- Secure Assembly: Double-check all fasteners and connections. Loose bolts can compromise stability, leading to potential accidents.
- Safety Spotters: If you’re lifting heavy, consider using safety spotters or straps. They can catch the barbell if you lose control.
- Clear Space: Confirm your workout area is free of clutter. A clear space reduces the risk of tripping or falling during exercises.
Customizing Your Power Rack for Maximum Functionality
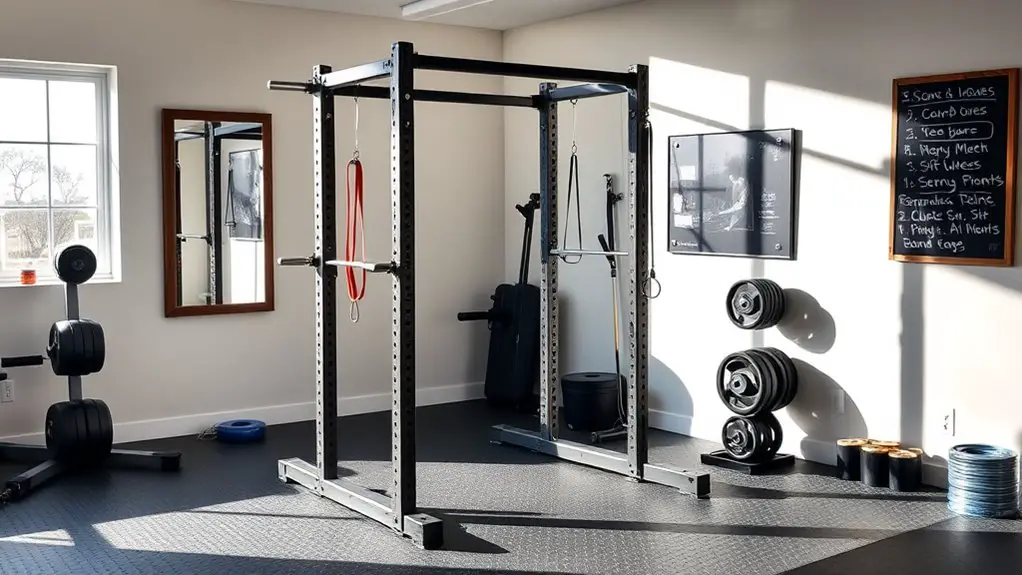
To enhance the functionality of your DIY power rack, consider integrating adjustable features that cater to your specific workout needs. These modifications not only improve usability but also allow for space optimization in your home gym. Here are some practical adjustments you might implement:
| Feature | Description |
|---|---|
| Adjustable J-Hooks | Allow for varying bar heights for different exercises. |
| Spotter Arms | Provide safety during heavy lifts; adjustable to your preferences. |
| Pull-Up Bar | Mount at different heights to accommodate various exercises. |
| Weight Storage | Attach storage pegs to keep weights organized and out of the way. |
Frequently Asked Questions
How Much Does It Typically Cost to Build a DIY Power Rack?
When you’re considering the cost to build a DIY power rack, the materials selection plays an essential role. Typically, you’ll find that a sturdy rack can range from $200 to $600. Start with a cost breakdown: steel tubing, about $100; bolts and hardware, roughly $50; and any additional accessories can add up. By carefully choosing your materials, you can keep expenses down while ensuring safety and durability in your home gym setup.
What Is the Best Paint or Finish for My Power Rack?
When considering the best paint or finish for your power rack, you’ll want to focus on durability and resistance to wear. For paint types, epoxy or polyurethane paints are excellent choices as they provide a strong, protective layer. If you prefer a finish option, powder coating offers exceptional durability and a sleek look. Make certain to properly prep the surface before application to guarantee long-lasting results and peak adhesion.
Can I Disassemble the Power Rack Easily for Storage?
Yes, you can disassemble the power rack easily for storage. Using effective disassembly techniques, like quick-release pins or bolts, can make the process smoother. Make certain you label and organize small parts during disassembly for easier reassembly later. For storage solutions, consider a designated corner or wall space in your garage or shed, where you can lean or stack the components neatly, maximizing your available space without cluttering.
How Much Space Do I Need for a Power Rack?
When considering how much space you need for a power rack, you should account for its dimensions, typically around 4 feet wide, 4 feet deep, and 7 feet tall. You’ll also want extra room for your workout space—ideally, allow at least 3 feet on each side for safety and mobility. This guarantees you can perform exercises comfortably without feeling cramped or restricted during your training sessions.
What Weight Capacity Should I Consider for My Power Rack?
When considering your power rack’s weight capacity, think about someone like Mark, who lifts 400 pounds. You’ll want a rack with a weight rating exceeding that, ideally around 1,000 pounds, to guarantee safety. Check for compliance with safety standards, as this assures durability and stability during heavy lifts. Remember, the more weight you plan to lift, the higher the capacity you should choose for peace of mind and effective training.
